Have you ever been stuck on how to create a hyperlink button for sending an email in Power BI? What if I tell you it is simple and not as difficult as you think?
In this article, I will explore a simple step-by-step way to create a button as a hyperlink for sending an email in Power BI Desktop.
Read to learn more.
Getting started
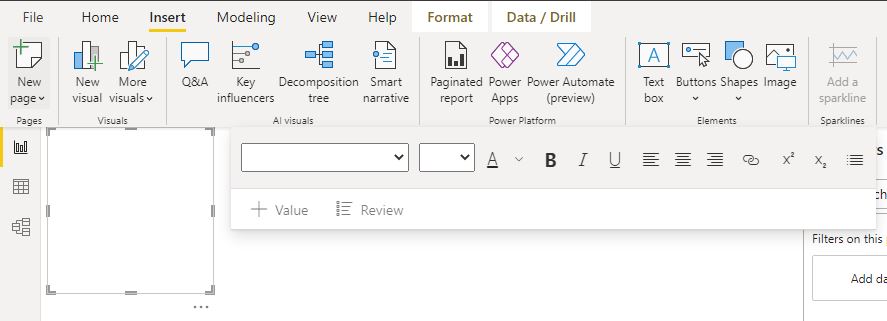
Launch your Power BI Desktop, and navigate to the Insert tab.
In the insert tab, click the “Text box” icon to insert a text box, as displayed below. This text box is where we will create the hyperlink button.
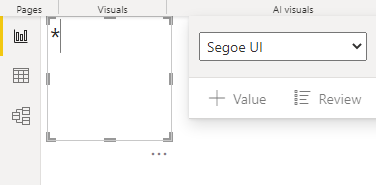
After this, click inside the text box, and add an asterisk (*) inside the text box.
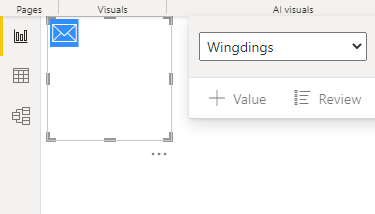
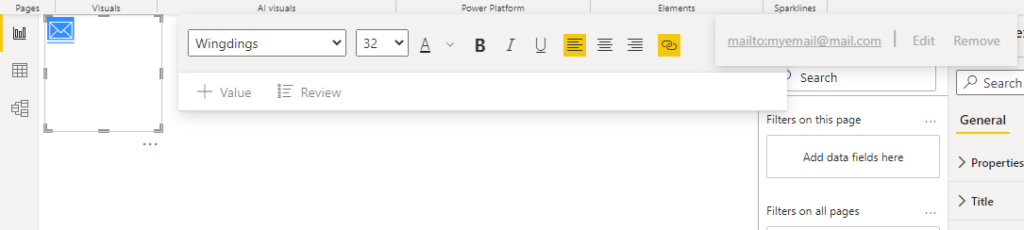
The next thing to do is to highlight the asterisk (*), and change the font to “WINGDINGS.” Automatically, the asterisk (*) switches to an email icon (as displayed below).
After this, click the “insert link” icon – (highlighted in yellow). This is where you will add the email you want to have in your hyperlink.
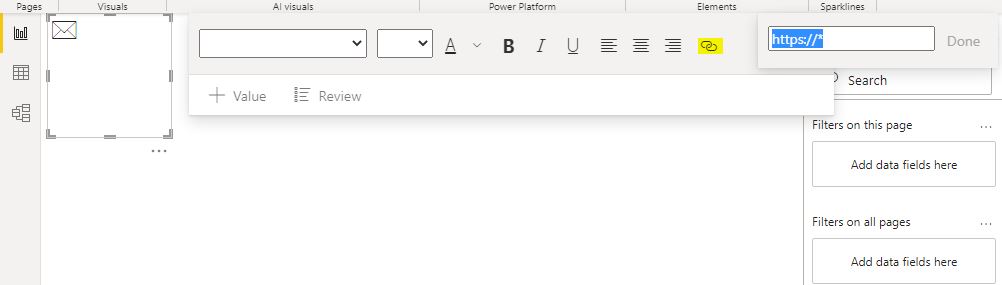
Now, it’s time to type your email. To do that, delete the https//*, and type your email as mailto:myemail@mail.com (crosscheck the details to avoid mistakes as this will affect its functionality). Then click Done.
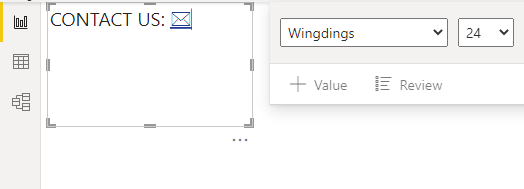
Furthermore, edit your text. Add something like “Contact us:” or anything of your choice, and adjust the font as you want.
Conclusion: How to Create a Button as a Hyperlink for Sending an Email in Power BI
That’s it! You just created a hyperlink button for sending an email in Power BI. You can agree it’s simple right? Yes, it is!
Thanks for reading.